Day 1
As soon as I arrived, I met a very familiar face - it was one of the summer students I was working with last year in the Plasma Group, he came back too! It was nice to see someone roughly my age there.
My supervisor wasn't in so the group meeting was held by a postgraduate student on Level 8 of the Blackett building (where tea and coffee is served!). After the meeting I was given a class 4 laser (1054 nm) in order to help with characterising some IR (infrared) optics. After a brief introduction of the inner workings of the laser we set up a safety hazard sign outside that specified the wavelength and power of the laser.
 |
| Makeshift laser safety sign |
In order for me to use the laser for characterisation I set up a mirror at approximately 45 degrees to the laser beam output from the oscillator - this was so that I could direct the beam towards the spectrometer I was using.
 |
| The mirror I set up onto a post, post holder and then onto the breadboard (the table with holes in for screws - those M6 ones I was talking about in a previous post) |
 |
| Laser aperture (where the laser comes out from) |
 |
| The IR laser |
 |
| Laser safety sign on laser |
 |
| The laser goggles I have to wear every time I use the laser |
 |
| The Aluminium mirror I used was kept in this |
 |
| The oscilloscope and power supply connected to the IR laser |
Was just about to go for lunch and then I spotted a final year PhD student that I had worked with previously in Outreach events - she was about to go for her viva! She was a ball of stress but I tried my best to reassure her that everything was going to be okay. Turns out she was the first female student in her supervisors group since 11 years - glad to see a female getting through her PhD and going further with research: such an inspiration! After a quick lunch break with most of the postgraduates in my group I got back to work but this time with some help from one of the friendly postgraduates - I was on my way to getting the software to work after a failed attempt last week! He tried so many different things: installing, un-installing and re-installing the software; restarting the computer... In the meantime a fellow postgraduate student was doing some optical trapping! The name describes the process perfectly - you trap something with light! It's such an amazing thing and I got to witness it before my very own eyes - I've never seen anything so amazing! A green laser was used to trap what looked like a white powder. He was imaging the trapping and after some tries he managed to trap something! I saw it on the camera and it was such a cool moment! It was there trapped in what looked like mid air for about five minutes but he said the average time he's trapped something for was about 20 minutes - it was bright green because of the laser and I could even see the trapped object in the apparatus without the need of an imaging instrument! It was a bright green dot just there levitating! There were some cool diffraction rings displayed on the ceiling because of the small gap the laser was going through in the top of the apparatus. It was so pretty!
 |
| The optical trapping apparatus |
 |
| Laser speckle, a result of interference - giving this sort of 3D effect where the laser light looks like glitter |
 |
| Green laser! |
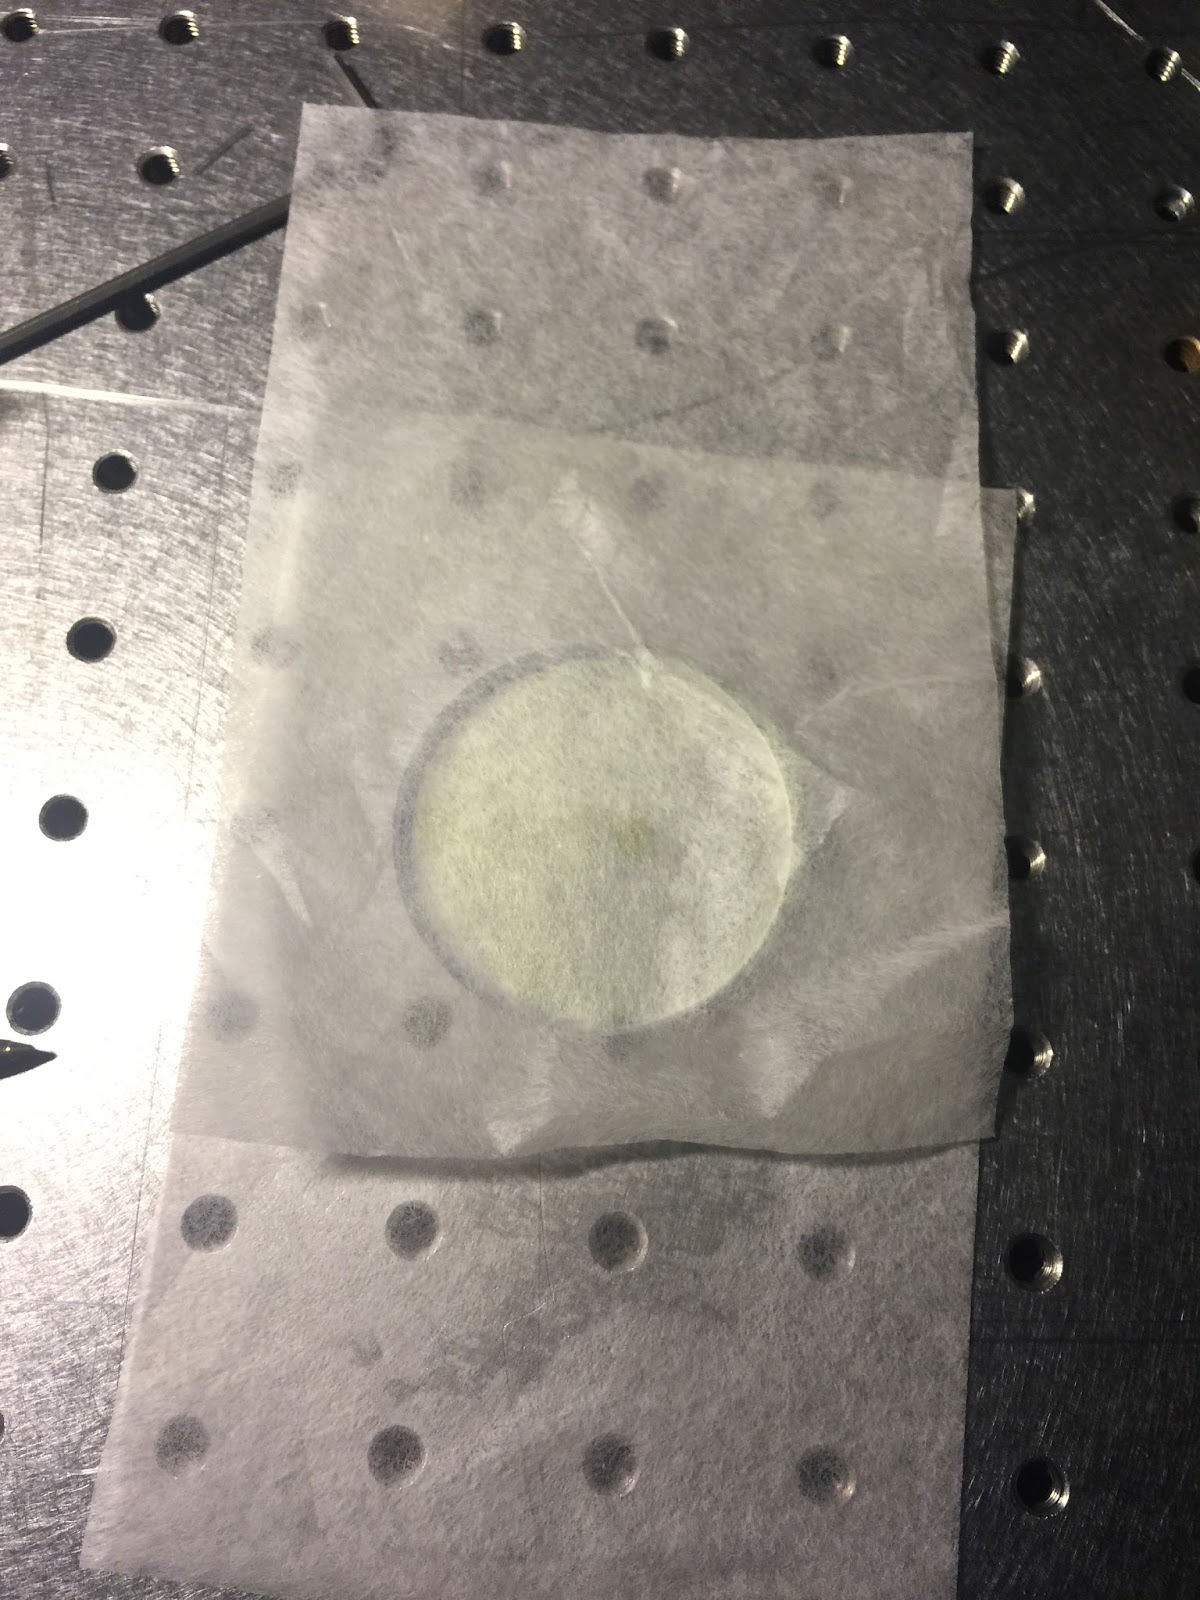
Returning back to my problems with the software - there was still no progress. In the meantime whilst we were installing Windows XP onto a laptop which was brought down into the lab because the user manual mentioned that it did not work on Windows Vista (which was what was installed on the laptop) I got to work on cleaning the optics I was going to characterise. I used the drag method I learned earlier on in my placement to clean the optics. Where you place some lens tissue below and above the optic and then add a few drops of ethanol on top of the optic and lens tissue and then drag the top lens tissue towards you so that the ethanol can evaporate and the lens tissue takes away any dirt/oil. For lenses, the lens tissue was folded and some ethanol was added and this was slid across the lens in one direction repeatedly until the dirt and the whole of the lens was clean.
 |
| The ethanol I was using to clean the optics |
 |
| All the optics I had to clean |
 |
| Some of them had cool coatings on |
 |
| These are some ones I cleaned |
 |
| Another box of optics I had to clean |
 |
| Another box of optics that need cleaning |
 |
| Some cleaned optics |
 |
| Lens tissue placed above and below the optic and then ethanol will be dropped onto the optic and lens tissue and then it will be dragged towards me to get rid of dirt |
 |
| Here some ethanol has been added to the top and the pen was used to keep the optic in place while the top lens tissue is dragged towards me |
Whilst I was doing this, the postgraduate was going through the long process of downloading Windows XP and then we called it a day. Tomorrow, fingers crossed we'll have the software working!
Day 2
Went back to the software agony this morning and again no luck. I'm starting to think I'm cursed and the spectrometer just doesn't want to work with me! I tried to install the software onto my Windows 7 laptop and again no luck - I kept getting an integration time error that did not want to go away no matter what value I put in.
After a quick lunch with some of the other summer students I got back to work on the software and went to the postgraduate for help. He tried the software onto a computer that was in the Cerberus (laser) lab upstairs and it worked! It was a shame I couldn't use that computer though. :( So we tried the software on a computer that was free in the adjacent lab and again no luck. The feeling that I was cursed started to really engrave itself in my mind! ;)
So instead the postgraduate allowed me to help with some laser shots! Woo! I was so excited!! It was a class 4 laser system in the infrared (IR) (1054 nm). They were testing for the energy of the laser and wanted to get a few mJ (milli-Joules) of energy. The initial step was to check that the laser was working and entering the room from the adjacent lab (the laser was in the Cerberus lab and this fed through into the room I was in). And after initial checks the laser was working - hurrah! Next step was to measure the energy - he used an energy meter which looked like a multimeter with a cuboid block on the end that looked like a blurred white screen in a black casing. This was placed into the beam and the reading was read out from the screen on the multimeter looking object. Because we were dealing with an IR laser we had to put on some orange goggles, just like the ones I was using yesterday. These protect our eyes from any harmful radiation. We cannot see in IR so even though I could hear the whirring, clicks and ticks of the machines from the laser I saw nothing - so in order to view them there was some paper that fluoresced when placed in front of the laser beam. It was so cool because you could trace the laser around the optics and the postgraduate kindly allowed me to do that - I saw the beam pass through waveplates (these change the polarised state of the light), mirrors, a Faraday machine that caused the Faraday effect (this rotates the plane of polarisation) and lenses which caused the beam to appear brighter in some places and have different beam diameters in other places.
 |
| Infrared Sensor Card - the card that fluoresces when IR hits it so that you can see the beam profile |
After the initial beam and energy checks we were going to start setting up for a shot. Since the laser was in the other room one of the postgraduates was with Cerberus and the other was with me in the lab room next door, so instead of calling each other with an internal phone or walking to the other lab we set up some headsets so that we could talk to each other. Felt quite cool talking to the postgraduate in the other room with the headset (with a microphone) and hearing the noises of the laser too! As soon as we were ready for a shot we moved to the back of the room and then I heard a faint countdown from the headset that the postgraduate in the room with me was wearing and he helped me see the countdown by using his fingers as soon as he reached zero I heard what sounded to me like a gun shot! It made me jump! He could have warned me! ;) I didn't realise it was going to make such a huge sound! It was pretty cool though! In my head I was thinking - I want his job! We then went back to the laser to check for any damage - whilst we were setting up we placed some special paper that burns when the IR laser hits it. We found that there were burns on the paper where we didn't want them - meaning either misalignment or something else. We noticed that the beam wasn't aligned and so was realigned by adjusting some mirrors. An IR scope was used to check for the beam and whether it was centered - I got to look through it and it was the COOLEST! I could see the beam travelling through all the optics - in a way, I was seeing the invisible! After that we set up for another shot and using the same procedure after moving to the back of the room and seeing (and hearing) the countdown I heard a huge BANG! Once again we witnessed a burn mark indicating something wasn't right. It quickly became 6 o'clock and it was time for me to go home but they persisted and I cannot wait to hear their news tomorrow - hopefully it's positive! I'm so grateful for their time and I would definitely recommend any student to do a summer placement, work experience or any type of experience that allows you to learn, take on challenges and see something new and exciting! It may inspire you to do it in the future - I definitely want to be a laser/plasma scientist in the future!
Day 3
Once again I had no luck with the software until a postgraduate that was working on optical trapping came to the rescue! Turns out I needed an Internet connection so that it could do some Windows updates, I needed to run the software as administrator and check that the USB spectrometer was fully installed and connected to the PC. So once we got it to work on his computer I followed the same steps and finally got it to work on my laptop! Was such a relief because my supervisor was coming back tomorrow and I wanted to show him some data.
Before I got the software working, I got a chance to visit MAGPIE!
MAGPIE stands for Mega Ampere Generator for Plasma Implosion Experiments, it is a TeraWatt (1012 W) pulsed power generator used for experiments in the Plasma Physics group at Imperial College.
'The generator consists of four 100kV Marx banks which store a total of 336 kJ, and generate an output potential of 2.4 MV. Each Marx bank is connected to a 5 Ohm, 100 ns, water filled transmission line and then to a trigatron switch. After the switches, the four lines join to a single, 1.25 Ohm water filled transfer line. This line is vertical and has a single transit time of 65 ns. At the top of the transfer line, the vacuum section is located. This consists of a conventional diode stack as the water-vacuum interface, a magnetically insulated transmission line and the experimental load.' (obtained from
MAGPIE website)
It was the coolest thing I've ever seen at Imperial College - the machine was very large and took up two floors. It required four very large capacitor banks which were covered in oil. The engineering parts of the machine were on the first floor and the optics/diagnostics were all on the second floor. Whilst I was there I witnessed alignment of a laser beam and the pump down of a chamber to a vacuum pressure of about 10^-4 mbar - which is about 100 million times smaller than the atmospheric pressure at sea level! The post doc who showed me round even allowed me to some of their amazing data (including shadowgraphy and interferometry images!) It was so AMAZING!! I saw a mini video of two plasma jets colliding and giving a bow shock - they were analysing different plasma jets produced by different foils (Al, C, Cu) and seeing how they interacted with each other. The larger picture of their experiments was to extrapolate what was happening on their small scale experiment to the macroscopic scale, as large as the Sun. Plasma jets just like the ones there created are very similar to the plasma jets created when stars are formed, except on a larger scale. So by analysing their small scale experiment they can know more about the goings on in space! This is a field known as laboratory astrophysics. It was great learning about what they do and seeing real data sets - and to think that all these cool things happen underneath the noses of the undergraduates at Imperial College is just unbelievable!
After being mind blown by the work being done at MAGPIE, I got back to work on my spectrometry and managed to get a white light spectrum and checked three different optics. One of which was an IR mirror that reflected IR at 10 degrees and allowed most of the white light through. Another optic seemed to be just plain glass and another was a lens which varied the intensity of the light. It was so cool to see how useful spectroscopy can be!
 |
| Spectrometer and fibre-based white light source |
 |
| Spectra obtained via the spectrometer and BWSpec4 software |
 |
| Testing how different optics distort the continuous spectrum of the white light |
Day 4
Since my supervisor had returned we had a quick group meeting to catch up on what had happened since we couldn't have the meeting on Monday. I told my supervisor about the spectrometer progress and after the group meeting I showed him the spectra I got for the IR mirror and the white light source. He then showed me a cool online software that showed the spectra for different optics, for instance, an optic with a MgF2 coating and then alternated with some SiO would give an oscillatory spectrum with large dips and peaks in it at certain wavelengths. My supervisor then asked me what the bandwidth of the spectrometer was and according to the spectra obtained it was about 171 - 1600 nm which seemed strange so he asked me to get the part number of the spectrometer and check its specification for the bandwidth. Turns out it was a cancelled/discontinued item and I couldn't find the specification of the spectrometer. I went back to my supervisor and he also couldn't find it but after Google-ing the SN number he found the specification. In order to find out which model it was I needed to calibrate the spectrometer and check the bandwidth. I did this by using some interference filters which are essentially optics with many layers of coatings which filter out many wavelengths and only allow a narrow band of wavelengths through. They looked very pretty as they were all different colours. On the interference filters there was a number which indicated the wavelength and this allowed me to check whether the spectrometer would show me the same number and it did! So the spectrometer was calibrated! After this I had a quick chat with one of the main Outreach people in the Plasma Group and he suggested some improvements to the popomatic: putting the power supply near the bottom and making buttons that are embedded into the cylinder so that you need something to poke the button in order to switch it on so that it is not easily switched on by accident.
Day 5
This morning I found out that the dispersion curve I plotted yesterday was incorrect since I used the data I got from the continuous spectrum I got for the white light source so essentially I was just plotting the dispersion curve for what the software was telling me (basically just using the dispersion relation for light in a vacuum) so this didn't tell me anything about the calibration for the spectrometer which is why I got a straight line. So I then got to work on plotting another dispersion curve, this is generally a plot of angular frequency as a function of wavenumber. For light in a vacuum these two variables are directly proportional to each other and the angular frequency is equal to the product of the speed of light and the wavenumber, where the wavenumber is 2
π/wavelength. So I went back into the lab and used the interference filters to obtain spectra for different wavelengths, including: 400, 532, 677, 820 nm
Since they were expensive optics I used some nitrile gloves to handle them so that I didn't get any oils or dirt on the optics. When I put the different filters in I noticed a small peak near the wavelength marked on the optic. This shows that the spectrometer is well calibrated. Once I obtained the different spectra I went back up to the office to plot them on the OriginLab software, a graphing software. I had used this is my undergraduate years so far and so I chose to plot the data on this. The software I was using with the spectrometer exported the data obtained via Microsoft Excel and so I had to move this over to OriginLab so that I could easily plot the spectra and add a Gaussian fit to it as recommended by my supervisor. The Gaussian was fit so that I could get a nice indicator of the wavelength of light that passed through the different filters and was measured by the spectrometer by getting the wavelength that corresponded to the peak of the Gaussian.
 |
| Gaussian fit to data |
From this I shall then plot wavelength against pixel number as suggested by my supervisor which shall be my dispersion curve. But as soon as it hit five it was time for the Friday pub time! So a few people from my supervisors group went for a pint at h-bar (just like h-bar the reduced Planck constant!) the Imperial restaurant/bar - physicists always find the name funny! It was nice to have a chat about PhD's, ways to succeed in a degree and I was also given a heads up for choosing PhDs and how to get through them. I was so grateful for their wise words. Cannot wait for next week and I think it's the Plasma Group BBQ too!